
Third generation of friendly, ultra-fast build, and pro print quality
AFTER ENDLESS ITERATIONS, JELLYBOX IS READY TO MEET ITS MAKER: YOU!
The idea behind IMADE3D was simple: to focus on 3D printers primarily as a learning experience. There is no better way to learn 3D printing in-depth than to build your own machine.Since the 3D printer kits on the market couldn’t meet our high demands for an easy build, use, and printing quality, we created our own JellyBOX 3D printer. It’s great for parents with kids, teachers, students, and everybody who want to learn.

YOU’RE INVESTING IN LEARNING.
NOT JUST BUYING A 3D PRINTER.
Core Features & Innovations
10.
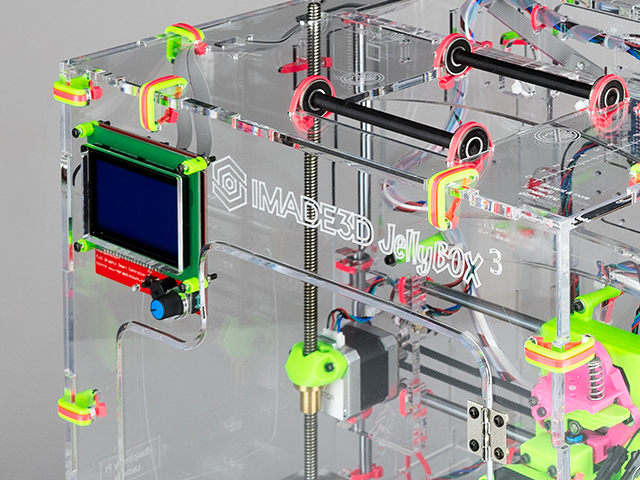
See-trough Construction
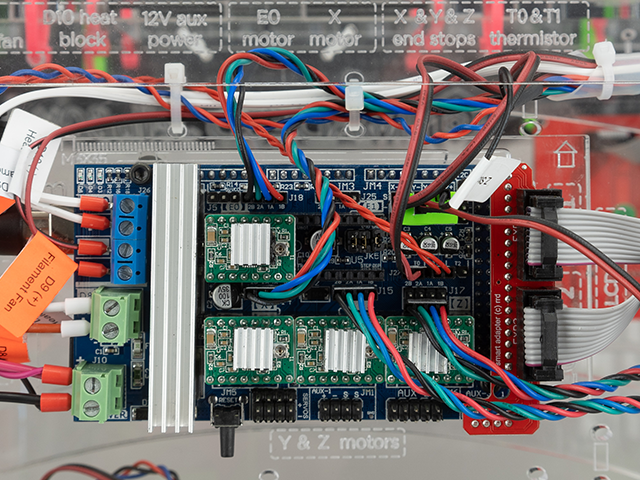
Clear acrylic construction to expose the inner workings. It’s the ultimate anti-black-box. Also, did we mention we have the best wire-management in town? Moreover, we have etched the electronics scheme into the printer itself.
9.
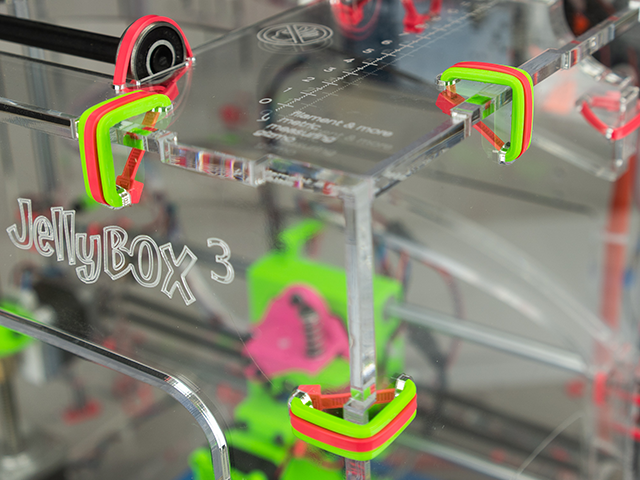
Designed with Cable Ties
Colorful cable ties make the JellyBOX fast and easy to build (and ever faster to break down). Plus, any mistake is easy to undo! Just snip and pull. Now you can make all the mistakes you want – it’s good for learning.
8.
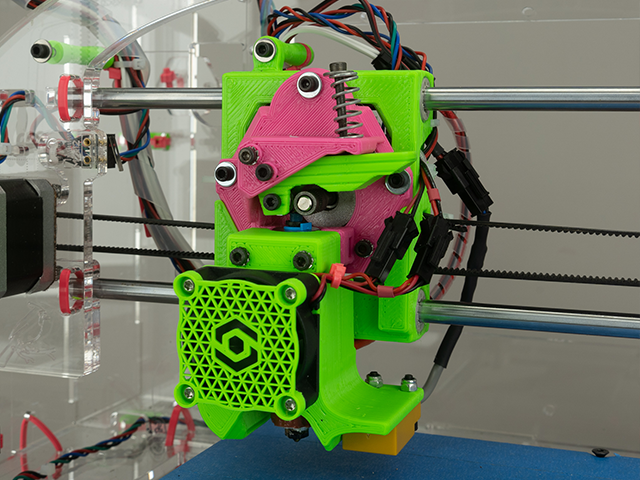
Adjustment-free Extruder
Compact construction of the extruder requires no settings of the z-probe position. It makes JellyBOX more user friendly and easier to print.
7.
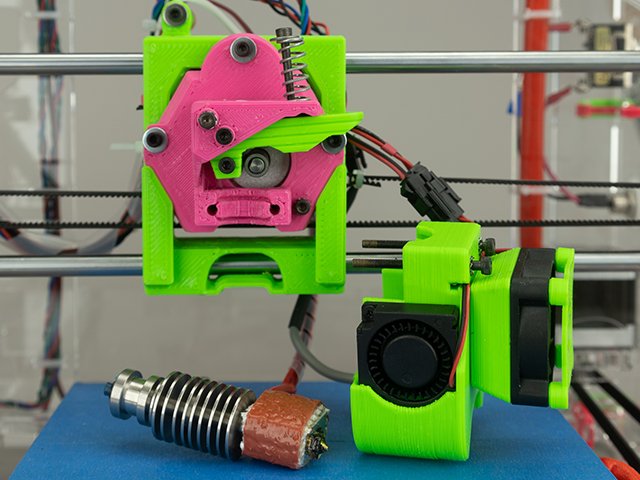
Quick Swap Hot-End
Hot-end can be removed within a minute just by releasing two screws. Easy to swap clogged nozzle or print with the various nozzle sizes.
6.
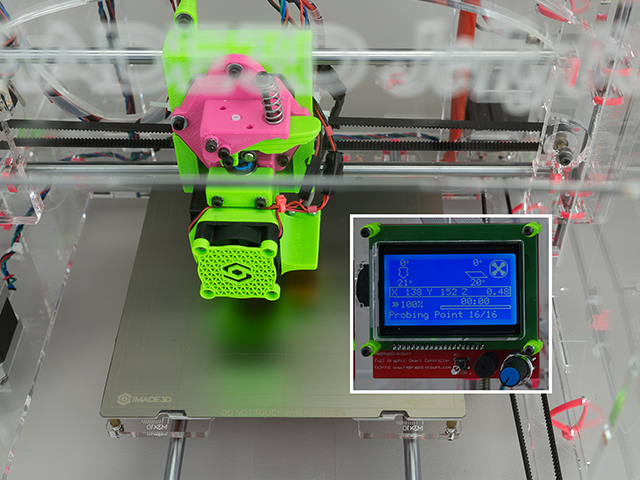
Automated Bed Levelling
Automated bed leveling is provided at the beginning of each print using 16 points probing with the precision of 0.02 mm! Eliminates time-consuming and much less precise manual adjustments.
5.
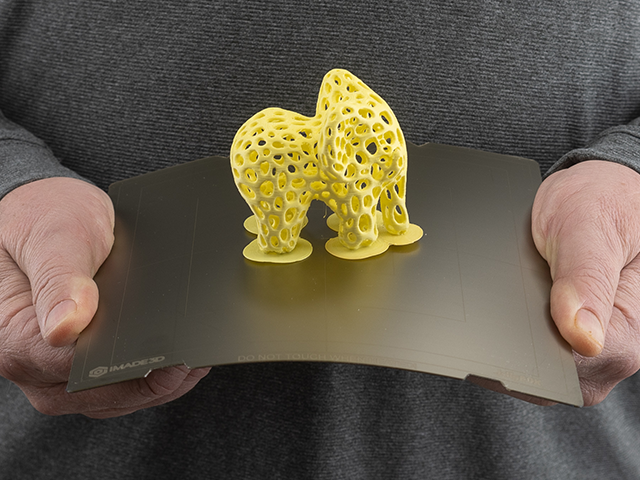
Flexible Removable Heated Bed
The removable flexible heated bed is made from spring steel with the PEI surface and is held magnetically. Can be easily to remove from the printer and release print by bending.
4.
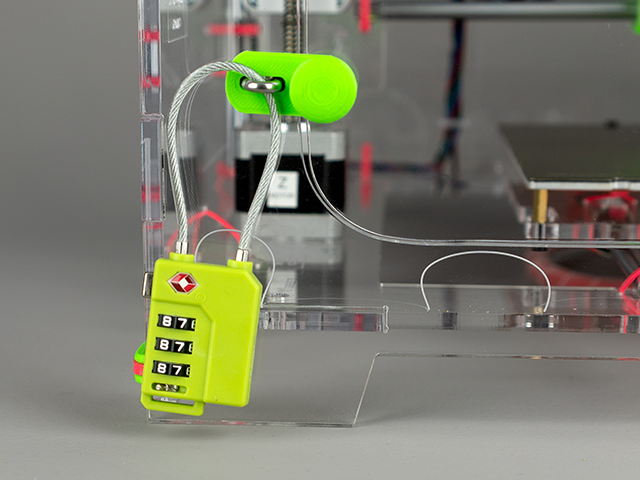
Lockable Front Doors
The whole JellyBOX 3 has closed transparent construction. The front doors can be locked by regular lock to prevent them from opening, to make them suitable for printing in schools or public places.
3.
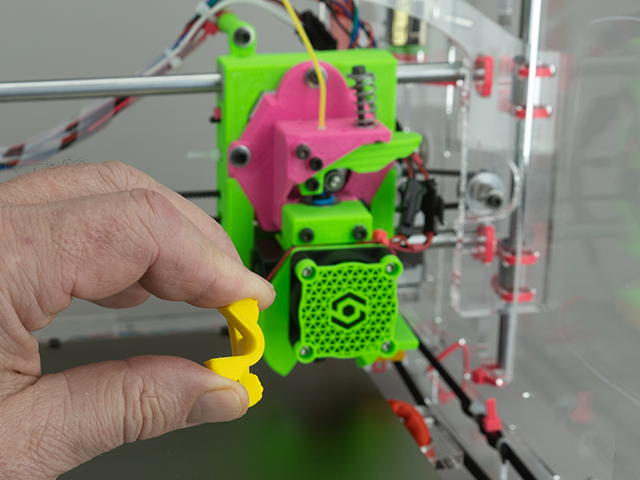
Prints Flexible Filaments
JellyBOX 3 has a direct drive extruder construction using custom-made hardened push gear and adjustable push force. It allows to print from the solid filaments, like PLA, PETG, ASA, NYLON, PC-ABS, but also from the flexible ones, like NinjaJet, TPU, etc.
2.
Common Controller with MARLIN
JellyBOX 3 uses an easily replaceable processor Arduino Mega 2560 with the RAMPS 1.6. This combination is the most “standard” for the open-source 3D printer operating system MARLIN, assuring stability, software compatibility, and low cost reparability.
1.
Designed and made in USA, Virginia
We have gone through rigorous testing to select every single component on the JellyBOX. We source materials worldwide, but all the manufacturing is done at our plant in Blue Grass, Virginia, which means we have total control.

Our Design Commandments
Ultimate anti-black box
All components should be visible and explicitly functional. Nothing should feel off-limits. Nothing should feel complicated. There is no magic here. Just science.Ease of build
Most companies try to make their devices easy to use. We go a step further and make the build itself of the device as effortless and educational as possible. Plus, it must be done in mere hours.Never compromise print quality
No 3D printer kit is good without being a great 3D printer as well. Focusing on ease of build must never be to the detriment of function or user experience post-assembly.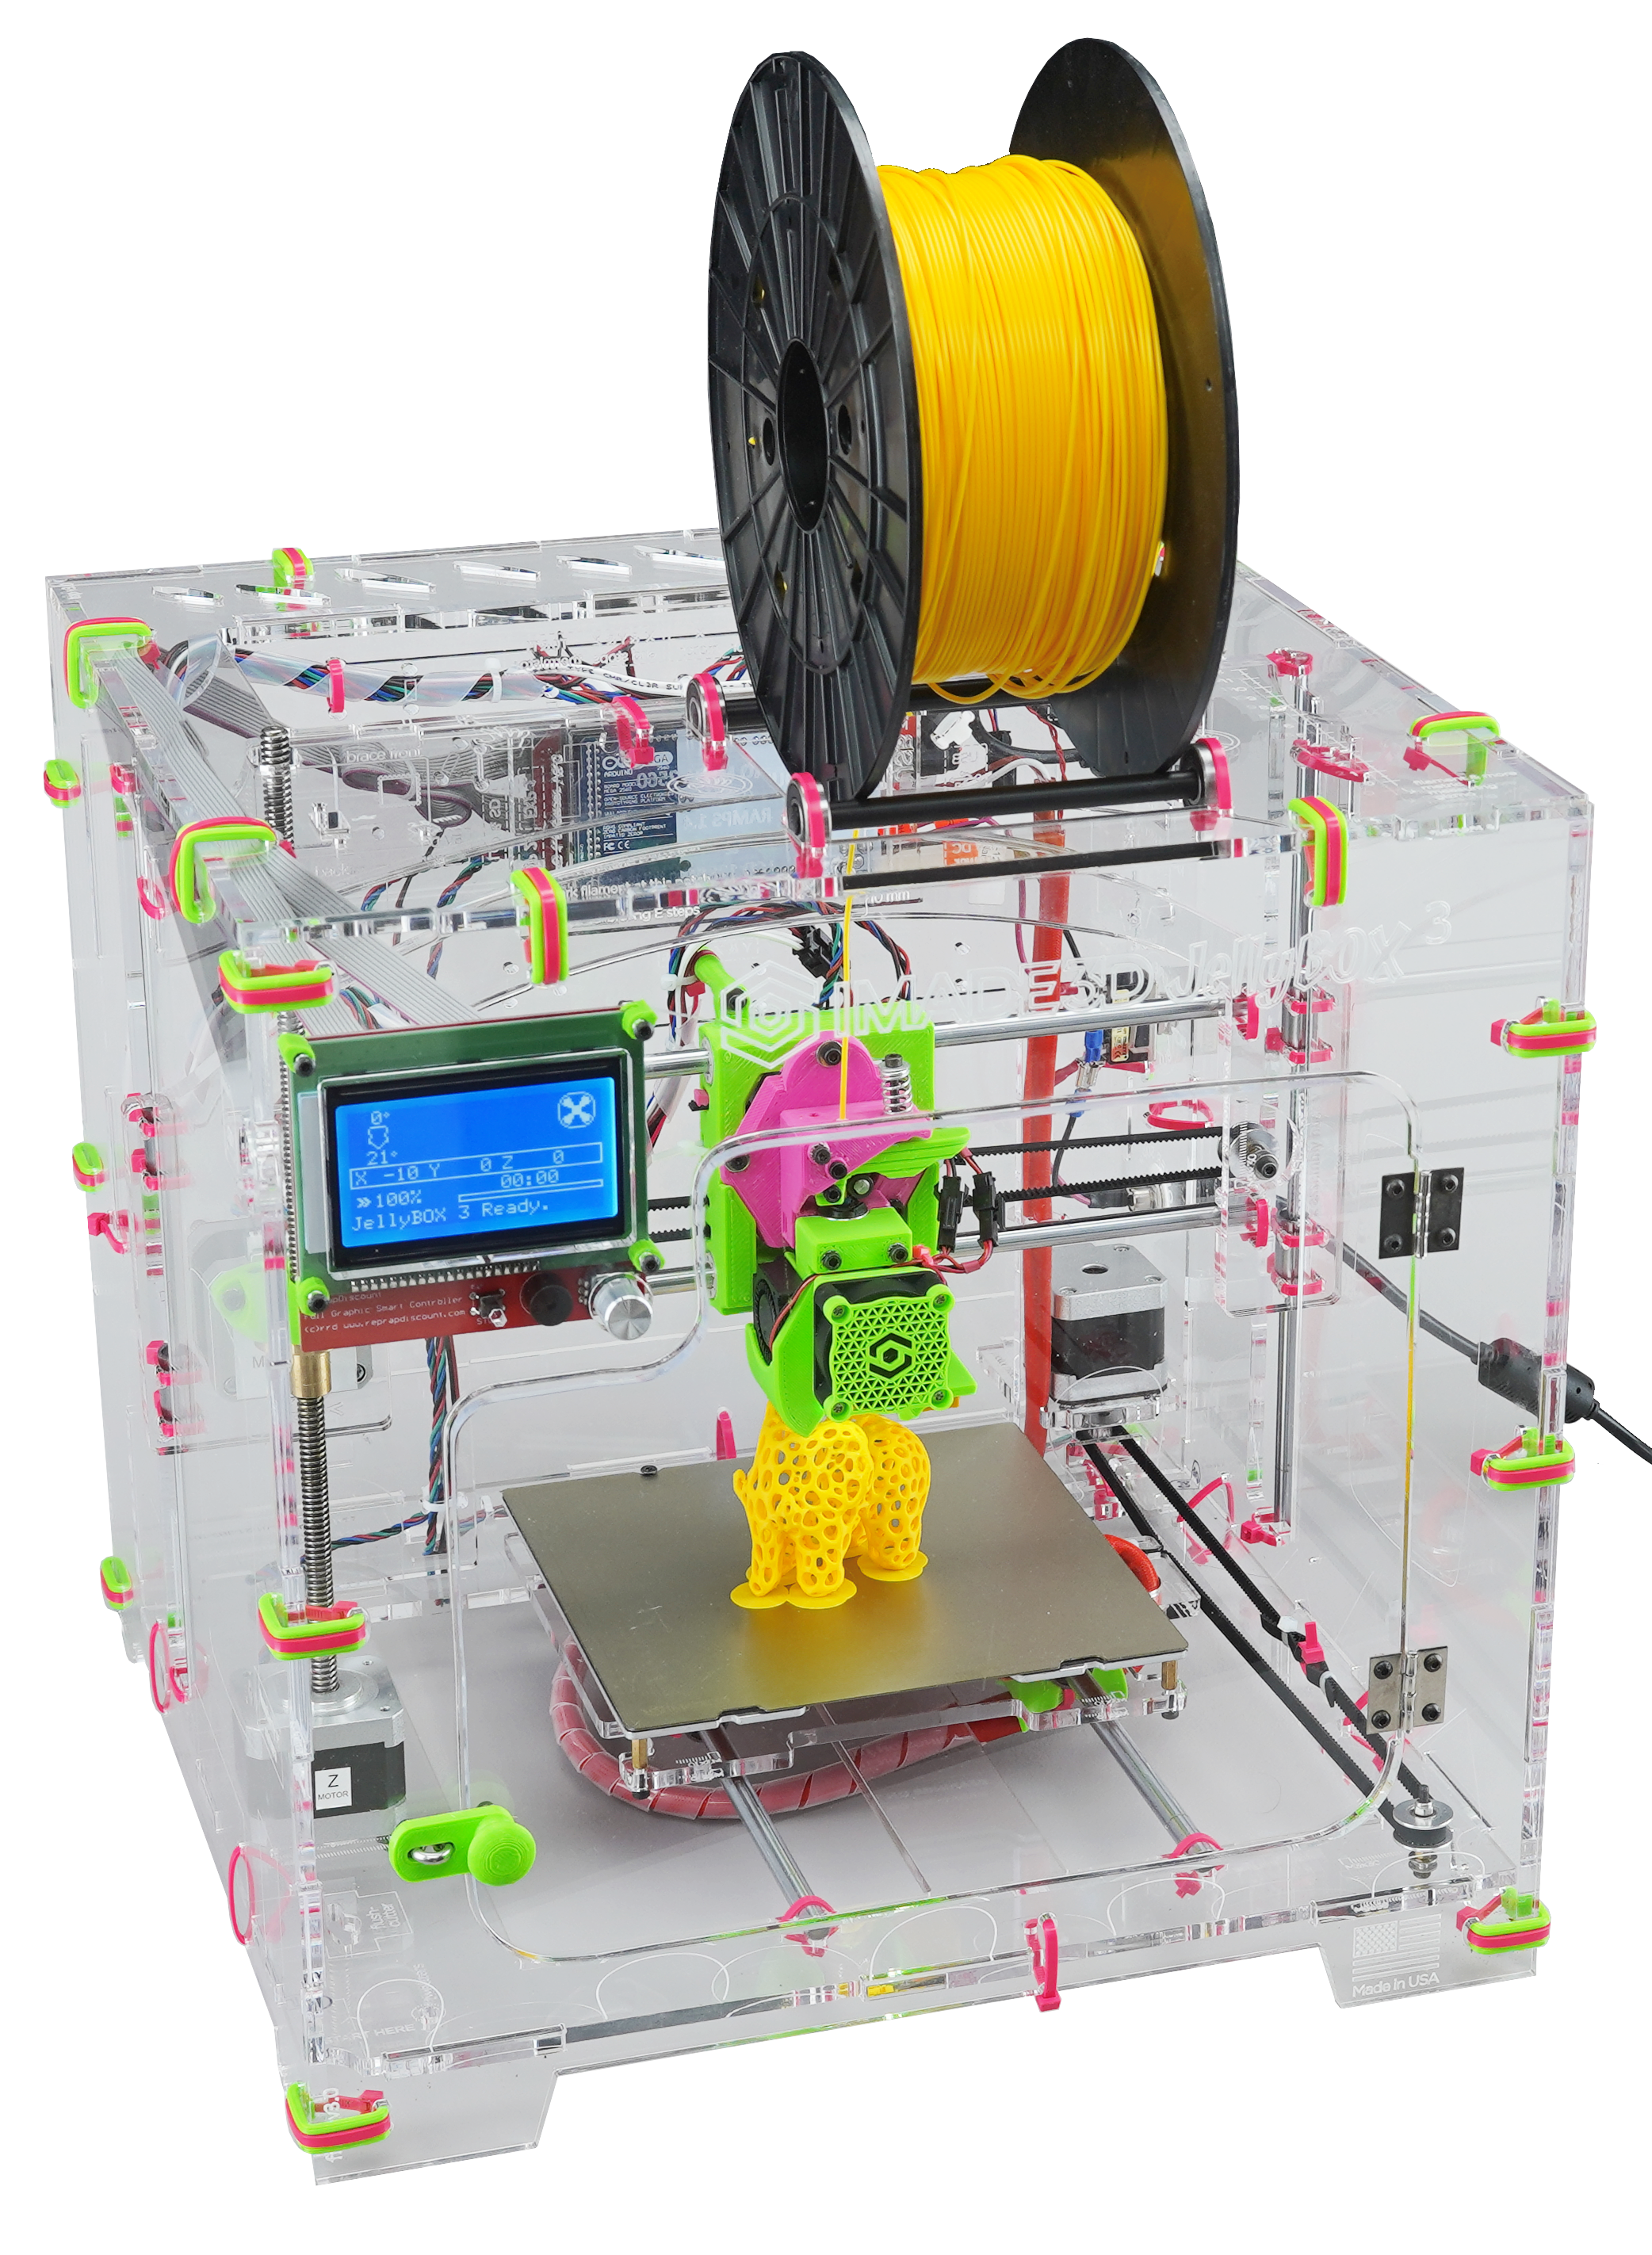
WHAT’S IS IN THE BOX
JellyBOX 3 DIY kit arrives with parts pre-assembled to both – speed up the build and make sure everyone succeeds. We carefully chose what parts to pre-assemble so that the hands-on learning doesn’t suffer. You still get the on-of-a-kind intro to 3D printing: just faster and easier.JellyBOX 3 is the best choice for parents and kids, 3D printing beginners, in-class and after-school programs, accelerated builds, to build with students in regular classes, after-school programs, or summer camps.
- All Jellybox 3D printed parts
- All Jellybox laser-cut acrylic parts
- All electronics loaded with the operating system
- Assembled main wire harness
- Assembled and hot-end
- Assembled X-Axis with Extruder carriage
- Assembled Extruder
- Assembled heated bed
- Power supply
- USB cable
- SD card
- Precision Side Cutters
- Small Vice Grip
- Metric 1.5 2 2.5 Hex Keys with ball end
- Metric Imade3D custom wrench
- Grease and lubrication oil
- Roll of PLA filament
TECHNICAL SPECIFICATION
- Build volume X-Y-Z: 170 mm x 160 mm x 145 mm (apx 6.7” x 6.3” x 5.7”)
- Construction: 6 mm cast laser-cut acrylic
- Desktop footprint: 390 mm x 365 mm x 365 mm (apx 15” x 14” x 14”)
- That is, Jellybox is a cube of 365 mm (apx 14”) sides, with the x axis slightly extending on left and right at 390 mm (apx 15”).
- Print Resolution: as low as 20 Microns
- Z Movement: custom made machined ACME z-screws with lower-than-common 2 mm pitch
- X/Y Movement: hardened chromed steel rods and linear bearings with GT2 belts
- Software: all necessary and needed software is free and open source (multiple options)
- Firmware: Marlin
- Electronics: RAMPS 1.6 with Arduino MEGA 2560 open hardware board with USB connection.
- SD Card: untethered printing through open hardware Full Graphic Smart Controller LCD 12864
- Auto Bed Leveling: using a high precision proximity sensor
- Motors: Nema 17 steppers, angle 1.8 degree
- Print Surface: heated spring steel bed with PEI surface, magnetic hold
- Hotend: E3D Lite6 type sink with JellyBOX custom heat meltzone 20 mm
- Power Supply: 12V/10 amps; included
- Filament (tested with):
- PLA
- PETG
- ASA
- NYLON
- PC/ABS
- PEI
- TPU (flexibles, Ninjaflex)
- many composites incl. carbon fiber reinforced..
- ABS is not recommended (see FAQ).
- Filament Diameter: 1.75 mm
- Wifi Print: JellyBox is made to seamlessly accommodate Octoprint on Raspberry Pi


