 Guest Post by Nathan Sekinger, National Board Certified Librarian and Teacher in Fredericksburg, VA and VAASL’s Librarian of the Year. He is a certified educator of Raspberry Pi, Makey Makey and Google Level II. He is also an educational advisor for Tinkercad. The mission of his middle school makers includes making, gaming, growing, outreach and activism. You can find him, photos, and project ideas on Twitter: @SekingerN.
As a middle school librarian, I am always busy trying to find the best ways to meet my students’ needs and capture their interest and excitement. I believe that a library should be a place of discovery and exhibition, innovation and connection. This is the story of how our library adopted 3D printing and how we use it today with great success to inspire both our students and teachers.
The 3D-Printing Dream

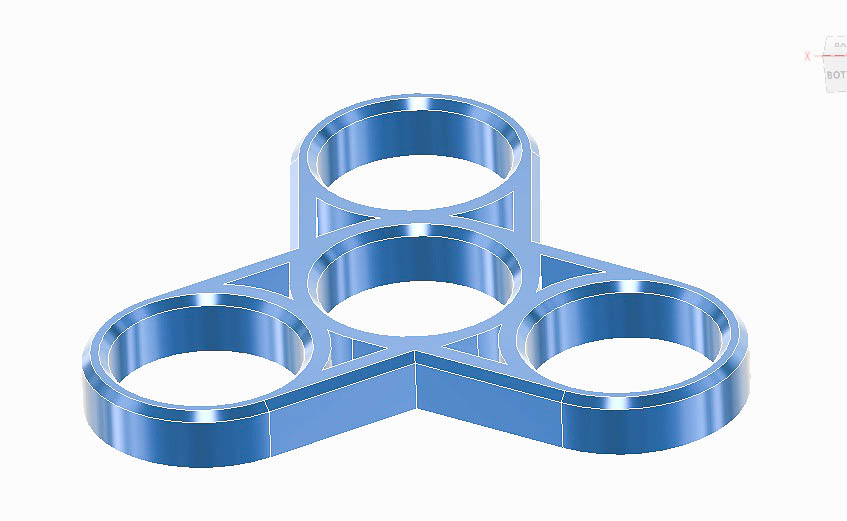
Creation from the popular Spinners Lab
Ideally, I want everything we do in the library to both help achieve the school’s instructional goals and also inspire our students to discover new interests. We often collaborate with classroom teachers to offer additional activities, such as reading programs or after-school clubs. After researching 3D printing and the principles of the Iterative Design process, I felt convinced that by adding 3D technology to our library, we could both support numerous classes and inspire many.
After a year of reading everything I could about 3D printers and trying out free design programs, such as Tinkercad, I was ready to make the investment of time and library resources. When I read Make: Magazine’s annual review of 3D printers in 2016 and saw that the IMADE3D JellyBOX 3D printer was rated the “Best for Schools,” I knew that it was what I needed. IMADE3D’S educational approach, treating the building of the printer itself as a collaborative learning experience coupled with the printer being open source (always a plus for a librarian), seemed like a good fit for me and my school.

Halloween sculptures with embedded LED lights
What sealed the deal however was the face-to-face build class I was able to take. In December 2016, my library assistant and I spent a day in Chantilly, Virginia learning how to build our JellyBOX printer with the IMADE3D staff. I experienced first hand how understanding the design of the printer would help me service and maintain the printer over time. By putting it together, I knew that I could someday take it apart and why I might want to. As the icing on the cake, the printer’s design allows it to be built, re-built and maintained by its true users: our students. It was a long day of learning new things, but professionally it was one of the best opportunities that I have had to learn and grow. And, as a librarian planning to add an innovative technology to library programming, it was exactly the kind of hand holding that I needed.
The 3D Reality
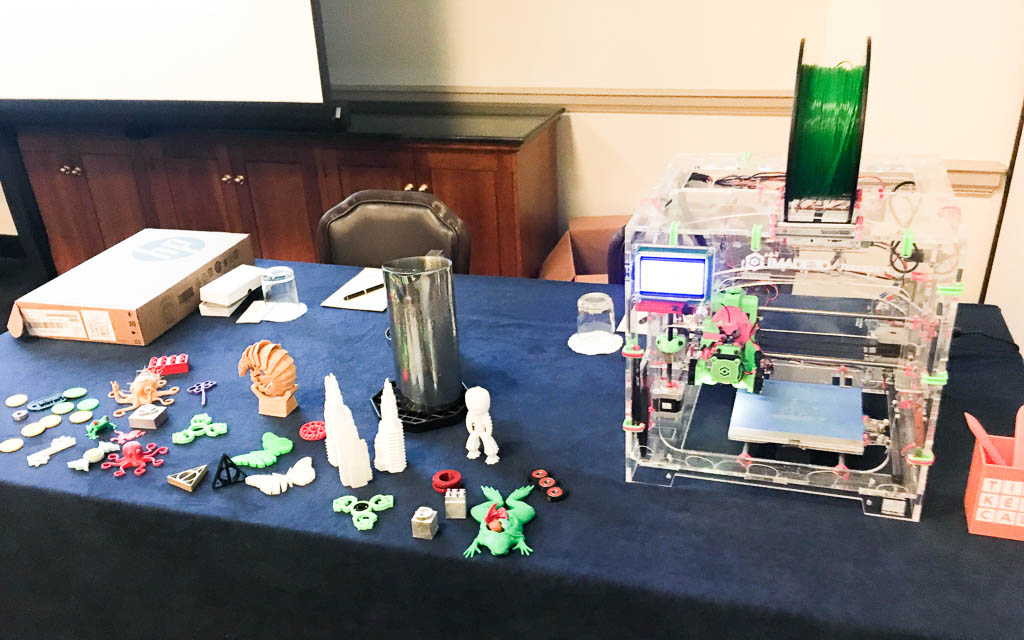
Display of various 3D prints and our JellyBOX
Day one back at school with our printer, we printed all the sample prints provided by IMADE3D. Students came from far and wide to ooh and aah over the rows of ducks and troves of fish we printed. And that lasted for quite a while. In truth, students and adults still come into the library and get excited over whatever is printing. It is a magical feeling to see a 3D printer at work. Now, instead of ducks and fish, however, we print what our students design. Every day. Constantly. From collaborative lessons, in which we partner with classroom teachers to our own maker programs, our students know our mission: yes, you can make something too!
our students know our mission: yes, you can make something too!
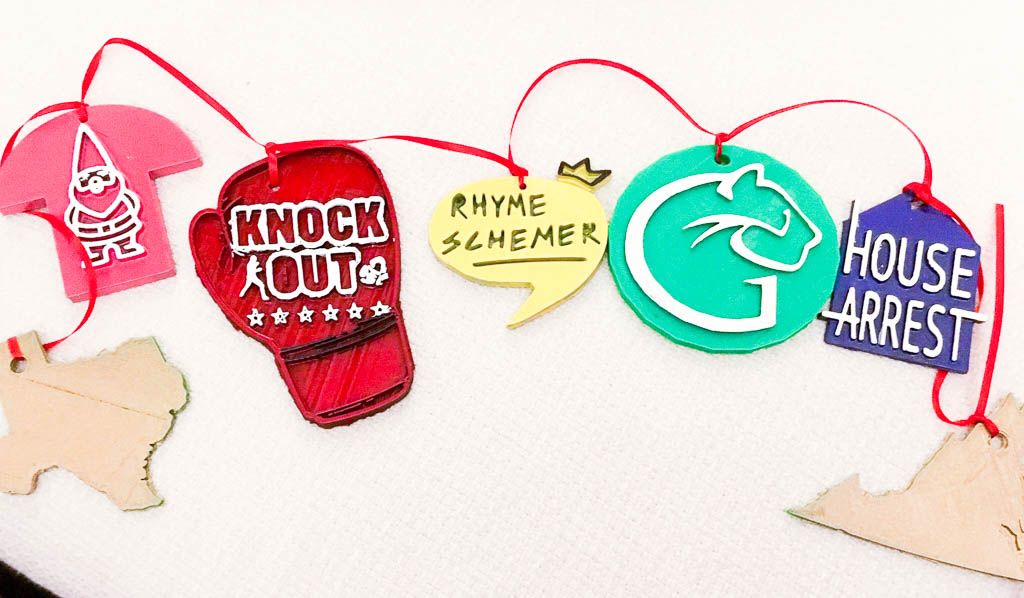
Here are just a few things we have worked on recently in our library: Designing Logos and The Outsiders, making the Deathly Hallows (see this Instructable for details) for our Harry Potter event, understanding the Printing Press and stamp making, Spinners Science Lab and lots more. The Spinners Lab is a great example of how we are able to support instructional goals in the Science classroom with our 3D design program in the library (definitely see this Instructable for details).
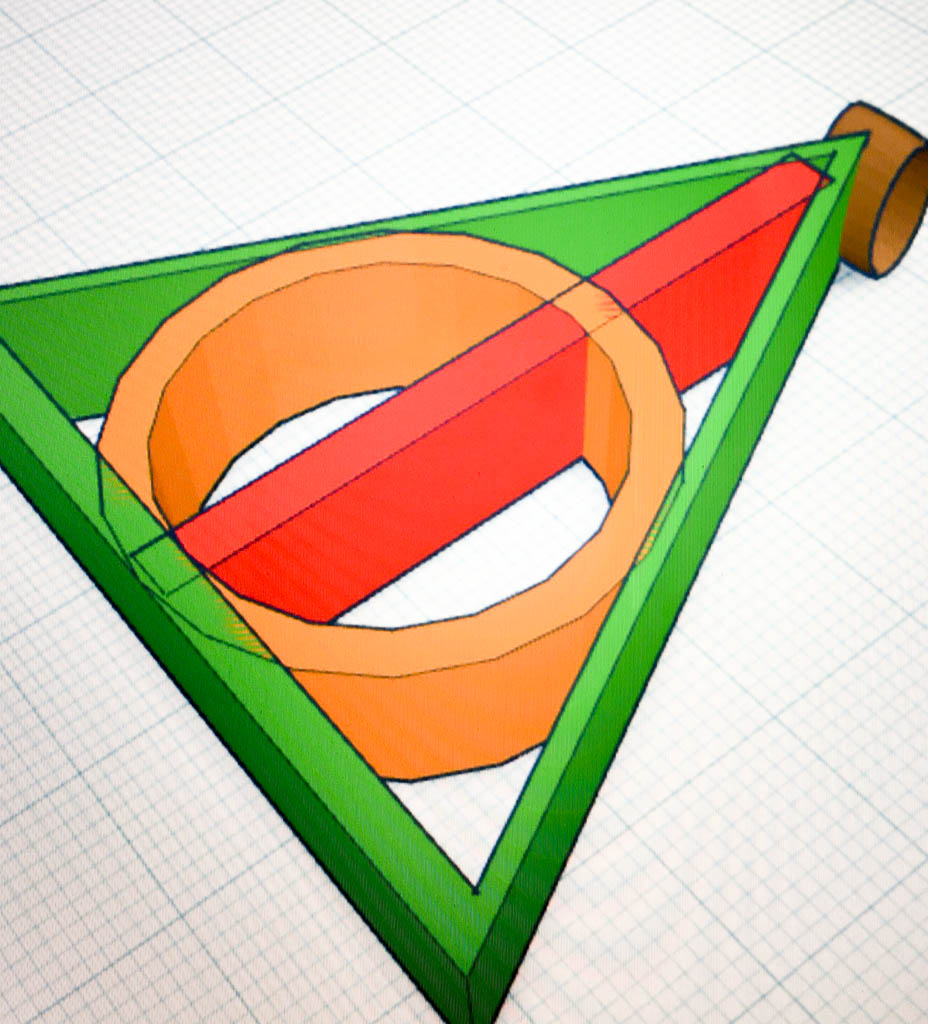
Deathly Hallows Harry Potter design in Tinkercad
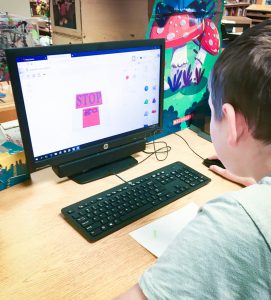
3D-designing in Tinkercad live
Students that drop by the library are constantly asking how and when they can use the 3D printer. We try to introduce our instruction to small groups of students using class time, after-school events, and even lunch programs. Once a month, we host a lunch time class where I present information about how to use Tinkercad and how to send the finished files for printing. Some of our student experts also help us run these classes. Once armed with this knowledge, students can send us their files anytime. Many spend time outside of school designing in Tinkercad, then come to the library to get their designs printed.
Many spend time outside of school designing in Tinkercad, then come to the library to get their designs printed.
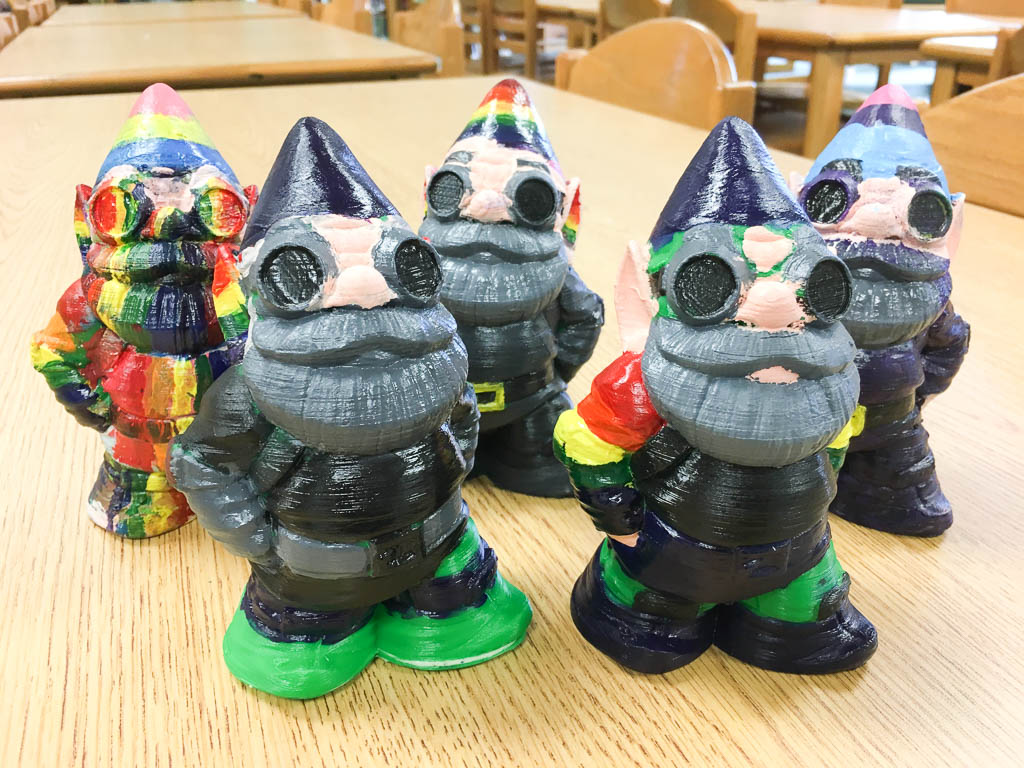
Makerbot gnomes: JellyBOX-printed, student-painted for a video project
Two years into our 3D printing programs, we are going strong with two JellyBOX printers. We still are constantly developing our skills in design and printing and our printers continue to be a large part of our library programs. They are probably the centerpiece of our maker programs due to their visibility and popularity. We still offer numerous reading programs and lots of instructional collaboration, but 3D printing keeps creeping into our daily routines, from making a dozen volleyball awards for our school champs to designing a display for our next author visit.
3D painted prints for an author visit to our school
I continue to be excited to offer 3D design and printing in our library because it appeals to students that might not necessarily show up for a reading program: more students now access our library resources. Also, we get to teach an iterative process to our students: that failure is good because it leads toward positive, better outcomes if someone is willing to put in the work. It’s a great lesson for school, for life and 3D printing lets us start that conversation in the library.
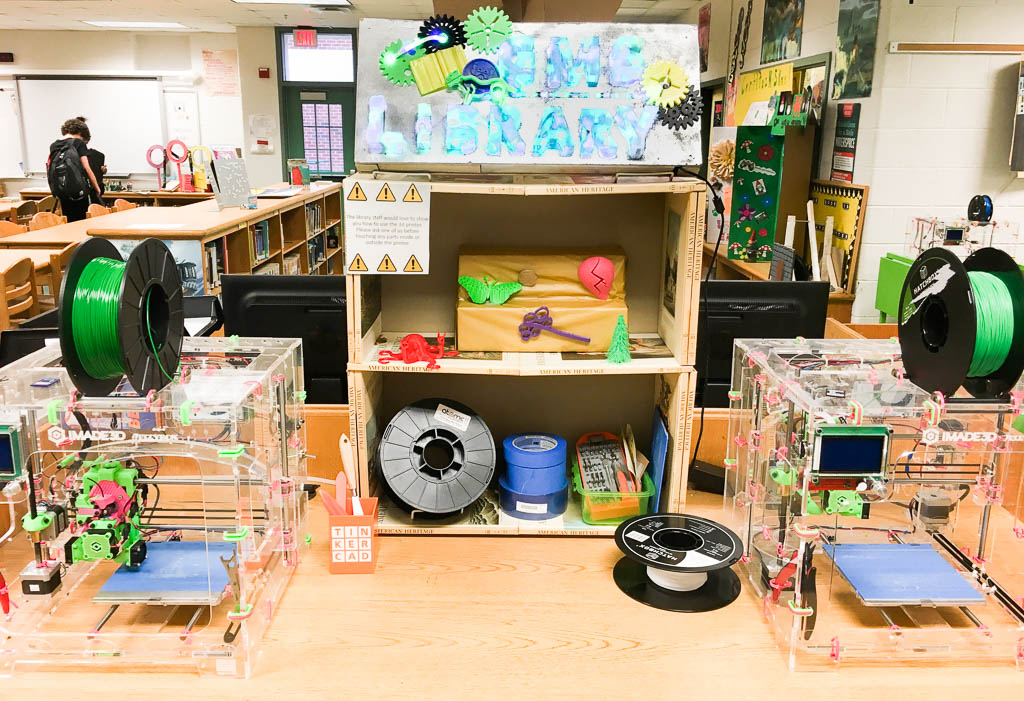
Our middle school setup for our 3D printers
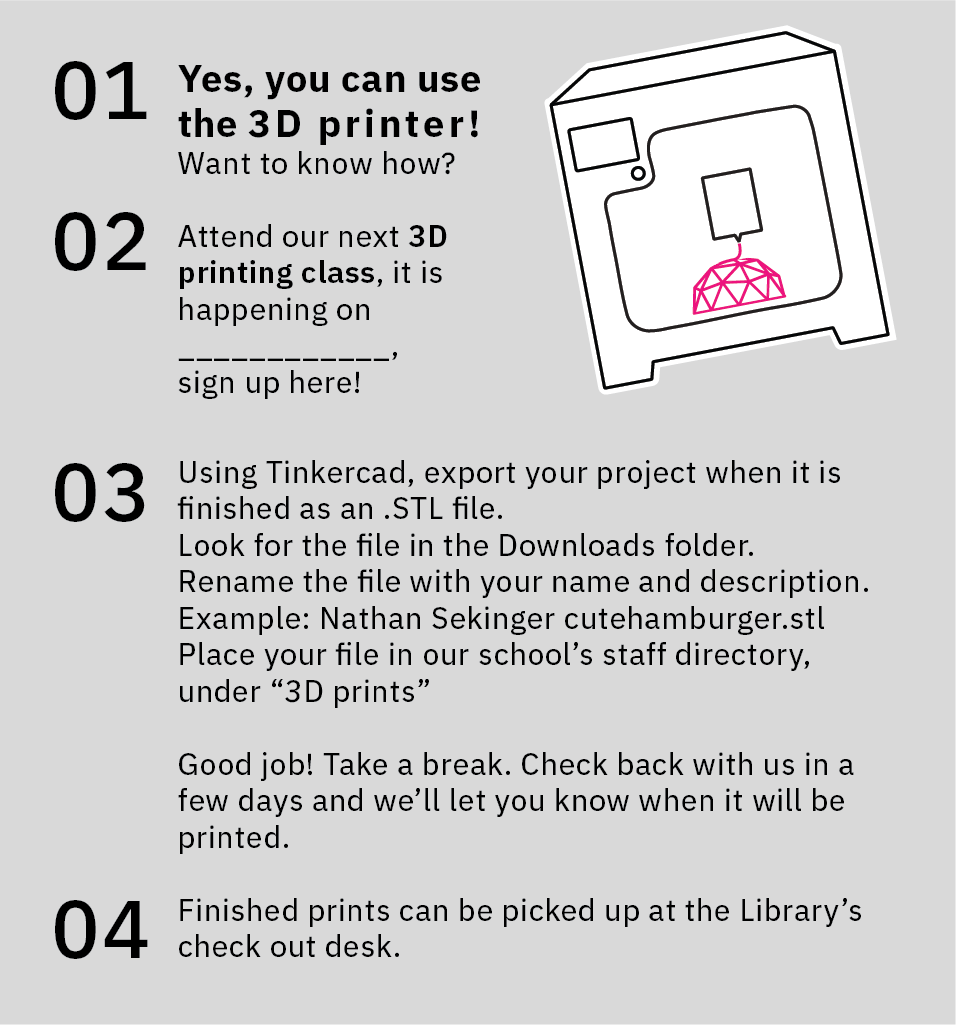
An example of the signage we display near our printers
Extra Credit: Tips about our 3D-Printing Workflow
Example of spinner design in Fusion 360
While there are many design tools available, we prefer introducing our middle school students to Tinkercad. It is free, web-based, easy for beginners, and continues to develop over time. It is also a part of the Autodesk lineup, so as our students’ skills grow, they could move onto Fusion 360, another free program, in high school or even professionally. We try to teach regular classes to students or encourage our regular 3D makers to teach new students who drop into the library.
“Invention” and “Adaptation.”
Prototyping fidget spinners
We introduce a strategy with our students of “Invention” and “Adaptation.” The Invention process means that students are planning to make something new using Tinkercad. This may start with a physical drawing before moving to the computer. Adaptation means that students may start with an existing model or someone else’s creation, then make adjustments to it. The student may find something on a file sharing site, like Thingiverse, download the file and import it into Tinkercad. From that point, students can adapt that file to fit their needs. This introduces a unique opportunity for collaboration and a chance to talk about citation and copyright.
Whether students invent or adapt, when they are finished, they export the file as an .STL file. We tell students to rename their files with their first and last names. Finally, we use a shared location on our school’s network to have students place their files – that’s all they need to do.
The Flow of a Print Order
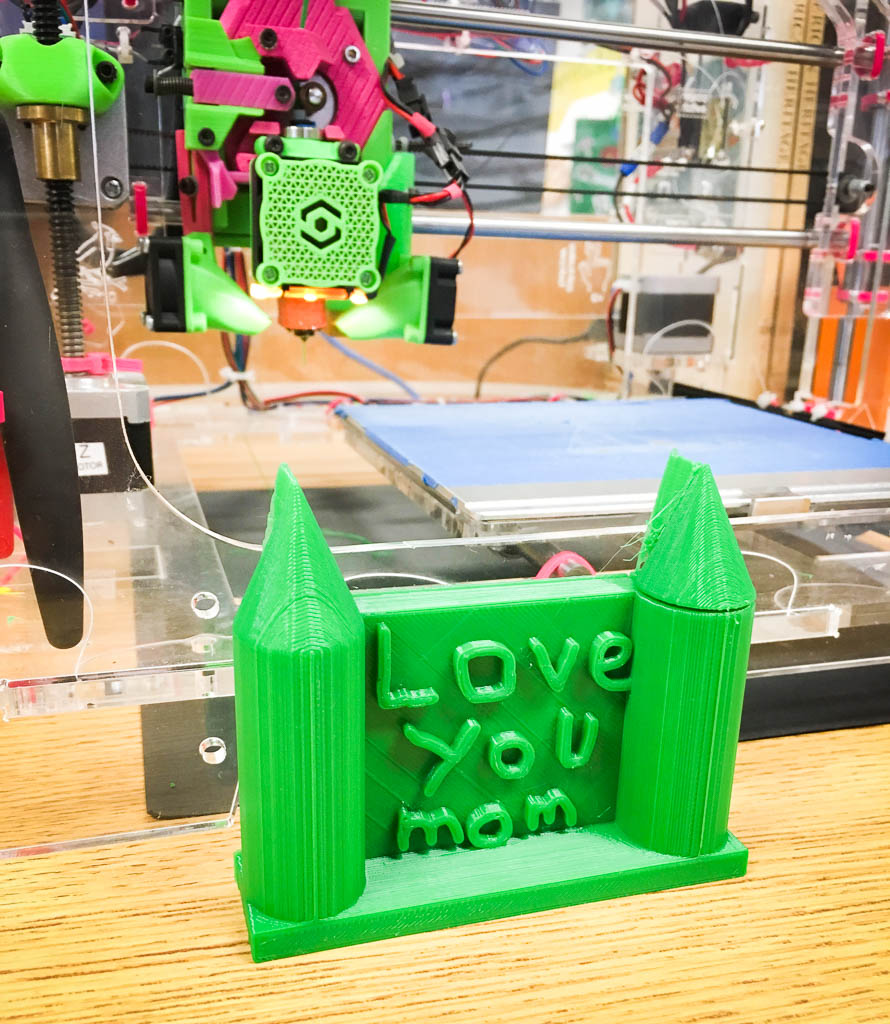
Student-created project using Tinkercad, Christmas gift to mom
The two staff members in our library access the student-created files at this point. We prepare the files using Cura as our slicer. This allows us to manage the size of the file, look at the content, and make choices about its viability. We can shrink huge files or add scaffolding to challenging prints. If a file looks like it won’t print, we’ll make a note to speak to the student. We may prepare ten or so student files at a time, put them on an SD card along with a sticky note with file names and print times.
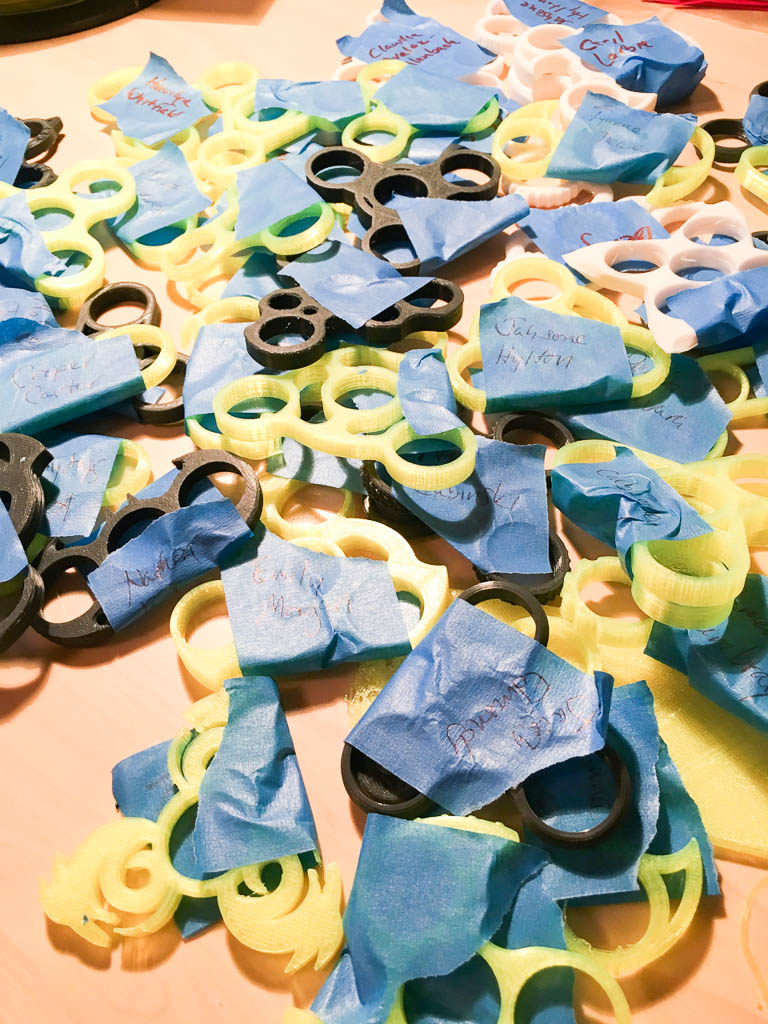
Throughout the school day, we will print the files on the sticky note, one at a time, and mark off the ones printed until the note is done. A few extra SD cards allows us to swap cards in and out as needed. Our printers are close at hand so that we can monitor them as we provide our other library services. Student prints are placed in a plastic organizer throughout the day where we will mark using a whiteboard marker the student’s name. Because of the regular traffic of the school library, students will pick up their print the next time they come in.
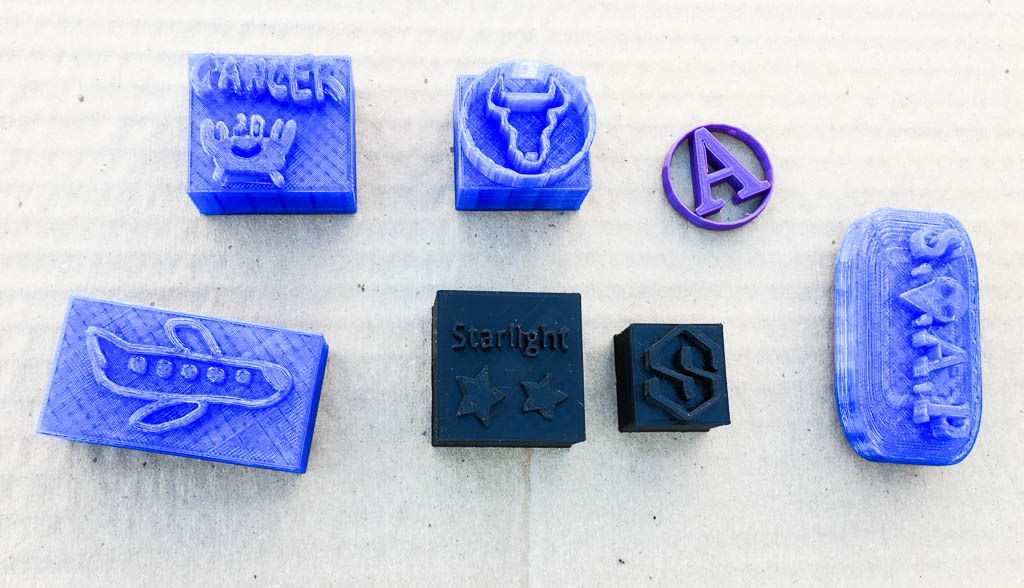
Student-created stamps for The Outsiders project
Sometimes we will have dozens of student files to print, other times it will be just a few. Because the staff controls the order of printing, we can place school assignments ahead of other projects as needed. The more we offer classes and promote projects, the more student files get submitted. Just like with our library circulation, the more you put into promotion, the more the students will use the services.
Editor’s Note
This article is published in collaboration between IMADE3D and TLC•SmartTECH. IMADE3D makes 3D printer builds and JellyBOX 3D printers specifically designed for education. TLC•SmartTECH is a single source provider for library technology: from makerspaces to hands-on learning programs.
If you’re reading this on the forum: the formatting here is a bit weird. Read the nice version on our web at https://www.imade3d.com/2019/02/making-a-place-for-3d-in-our-school-library/
Great ideas on workflow.