One-Day 3D Printer Builds
Intense learning experience and most engaging way to get into 3D printing.UPCOMING ONE-DAY JELLYBOX QUICK BUILDS
February 17th. 2018 – Saturday – Vienna Virginia
Don’t wait! Classes are small and are filling fast. First come – first serve.
QUICK BUILD RESERVATIONS
Intro
Building your 3D printer is by far the best way to take ownership of the technology and to really get to understand it.
You will be in a complete control, and fix it when it breaks. You lose any inhibition or feelings of awe.You be in charge.
But building your own 3D printer takes time and know-how… Until now.
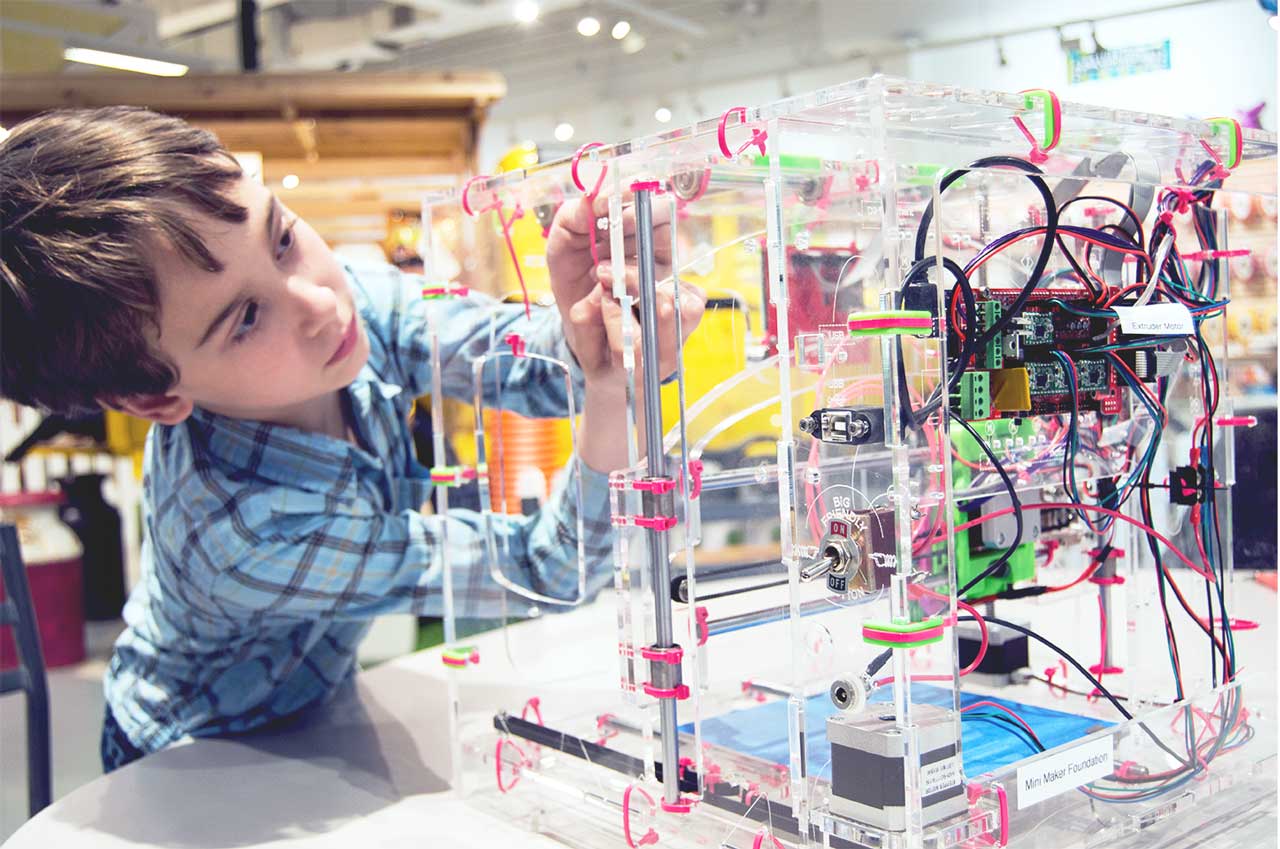
We have developed 3D printing workshops, for which we specifically designed a printer that’s easy to build while maintaining a high print quality: the Jellybox.
Now, you can build your own high quality 3D printer and learn how to 3D print it in a single day!

F.A.Q.
Price?
$1350 for the 1-Day JellyBox Build, and you can bring an assistant to build the Jellybox with you and learn along for free!
This includes all parts needed to build the latest Jellybox, tools, 1 kg of filament, blue tape, snacks, breakfast, drinks and lunch.
VA residents except GOV, schools or non-profits are punished by additional 5.3% sales tax for hardware parts used in crash course.
Who is this for?
Anyone can sign up for our crash courses. If you think this is the right event for you, we’re not gonna stand in your way!
If you’re under 18, we may need to get a consent from your legal guardian. No worries. It all works out.
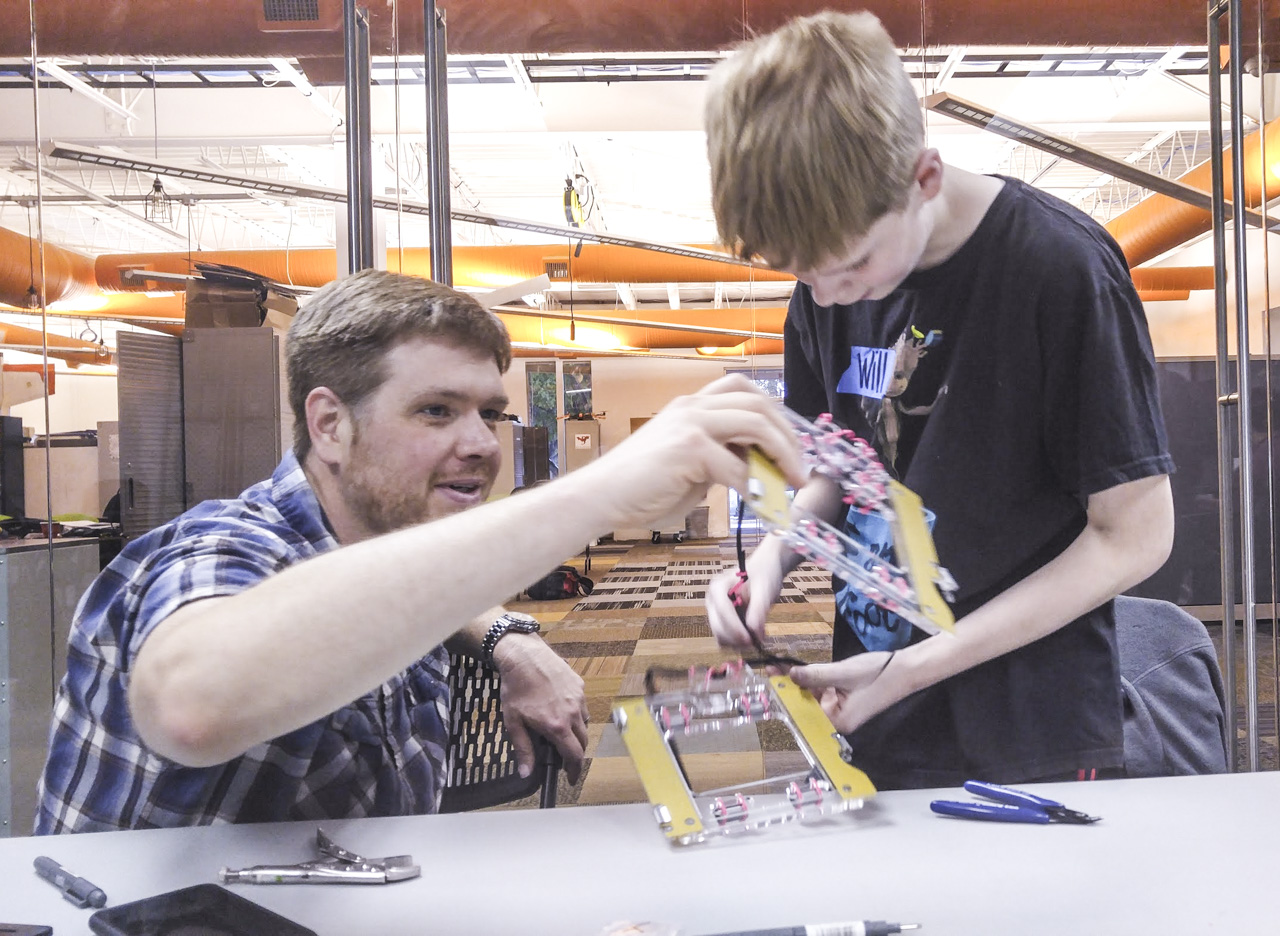
Oh, did you know you can come and build in pairs? Friend and an enemy. Offspring and a parent. Siblings. Inspiration: we hear IMADE3D crash course is a pretty awesome first date, too.
Why Jellybox (and not _____ printer)?
There’s nothing that can do the job better than Jellybox as it was made specifically as an integral part of our learning plan!
The reality is that we had a plan for an exquisite educational experience – the IMADE3D crash course – and we had to design a 3D printer to fit our lesson needs. Jellybox was born out of the need for 3D printer custom made for hands-on learning.
What is minimum / maximum age?
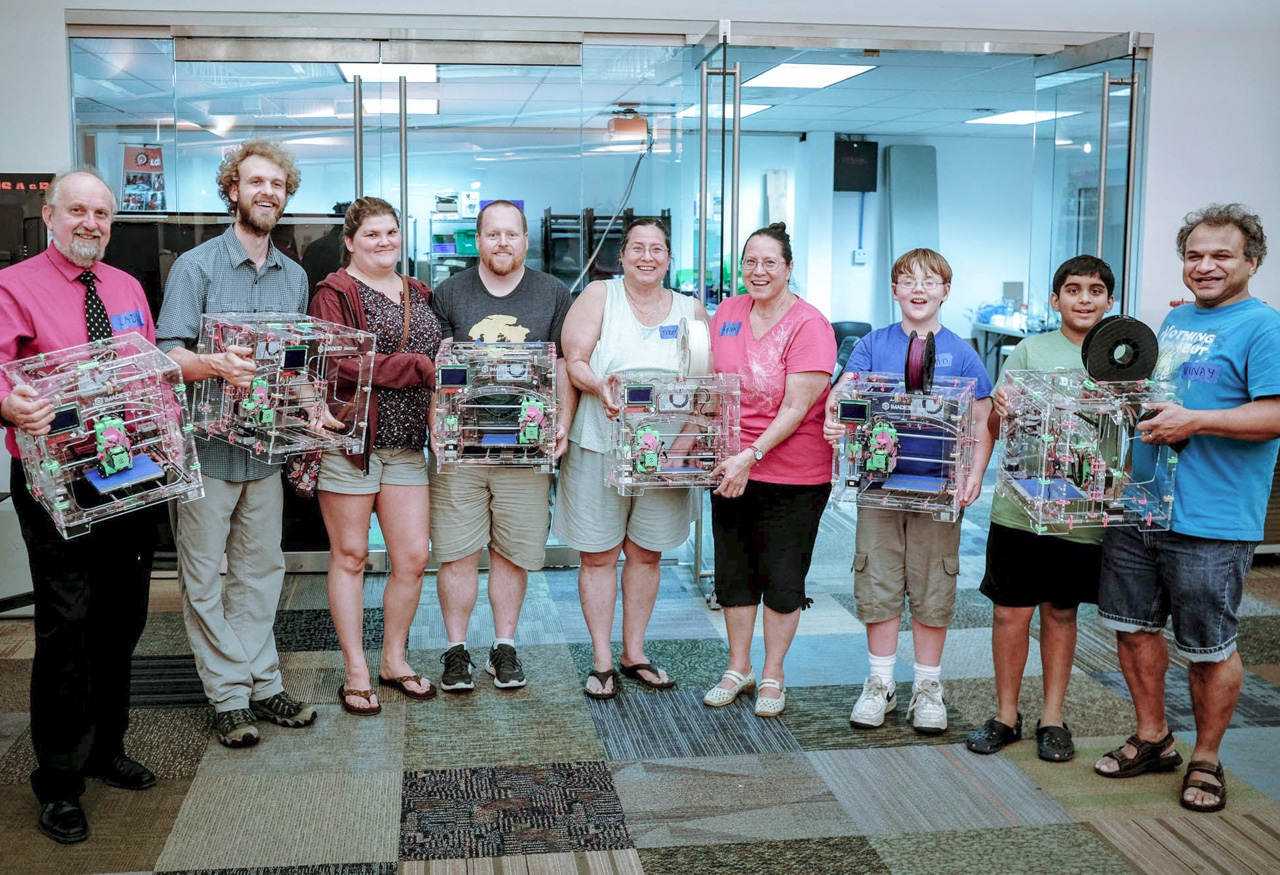
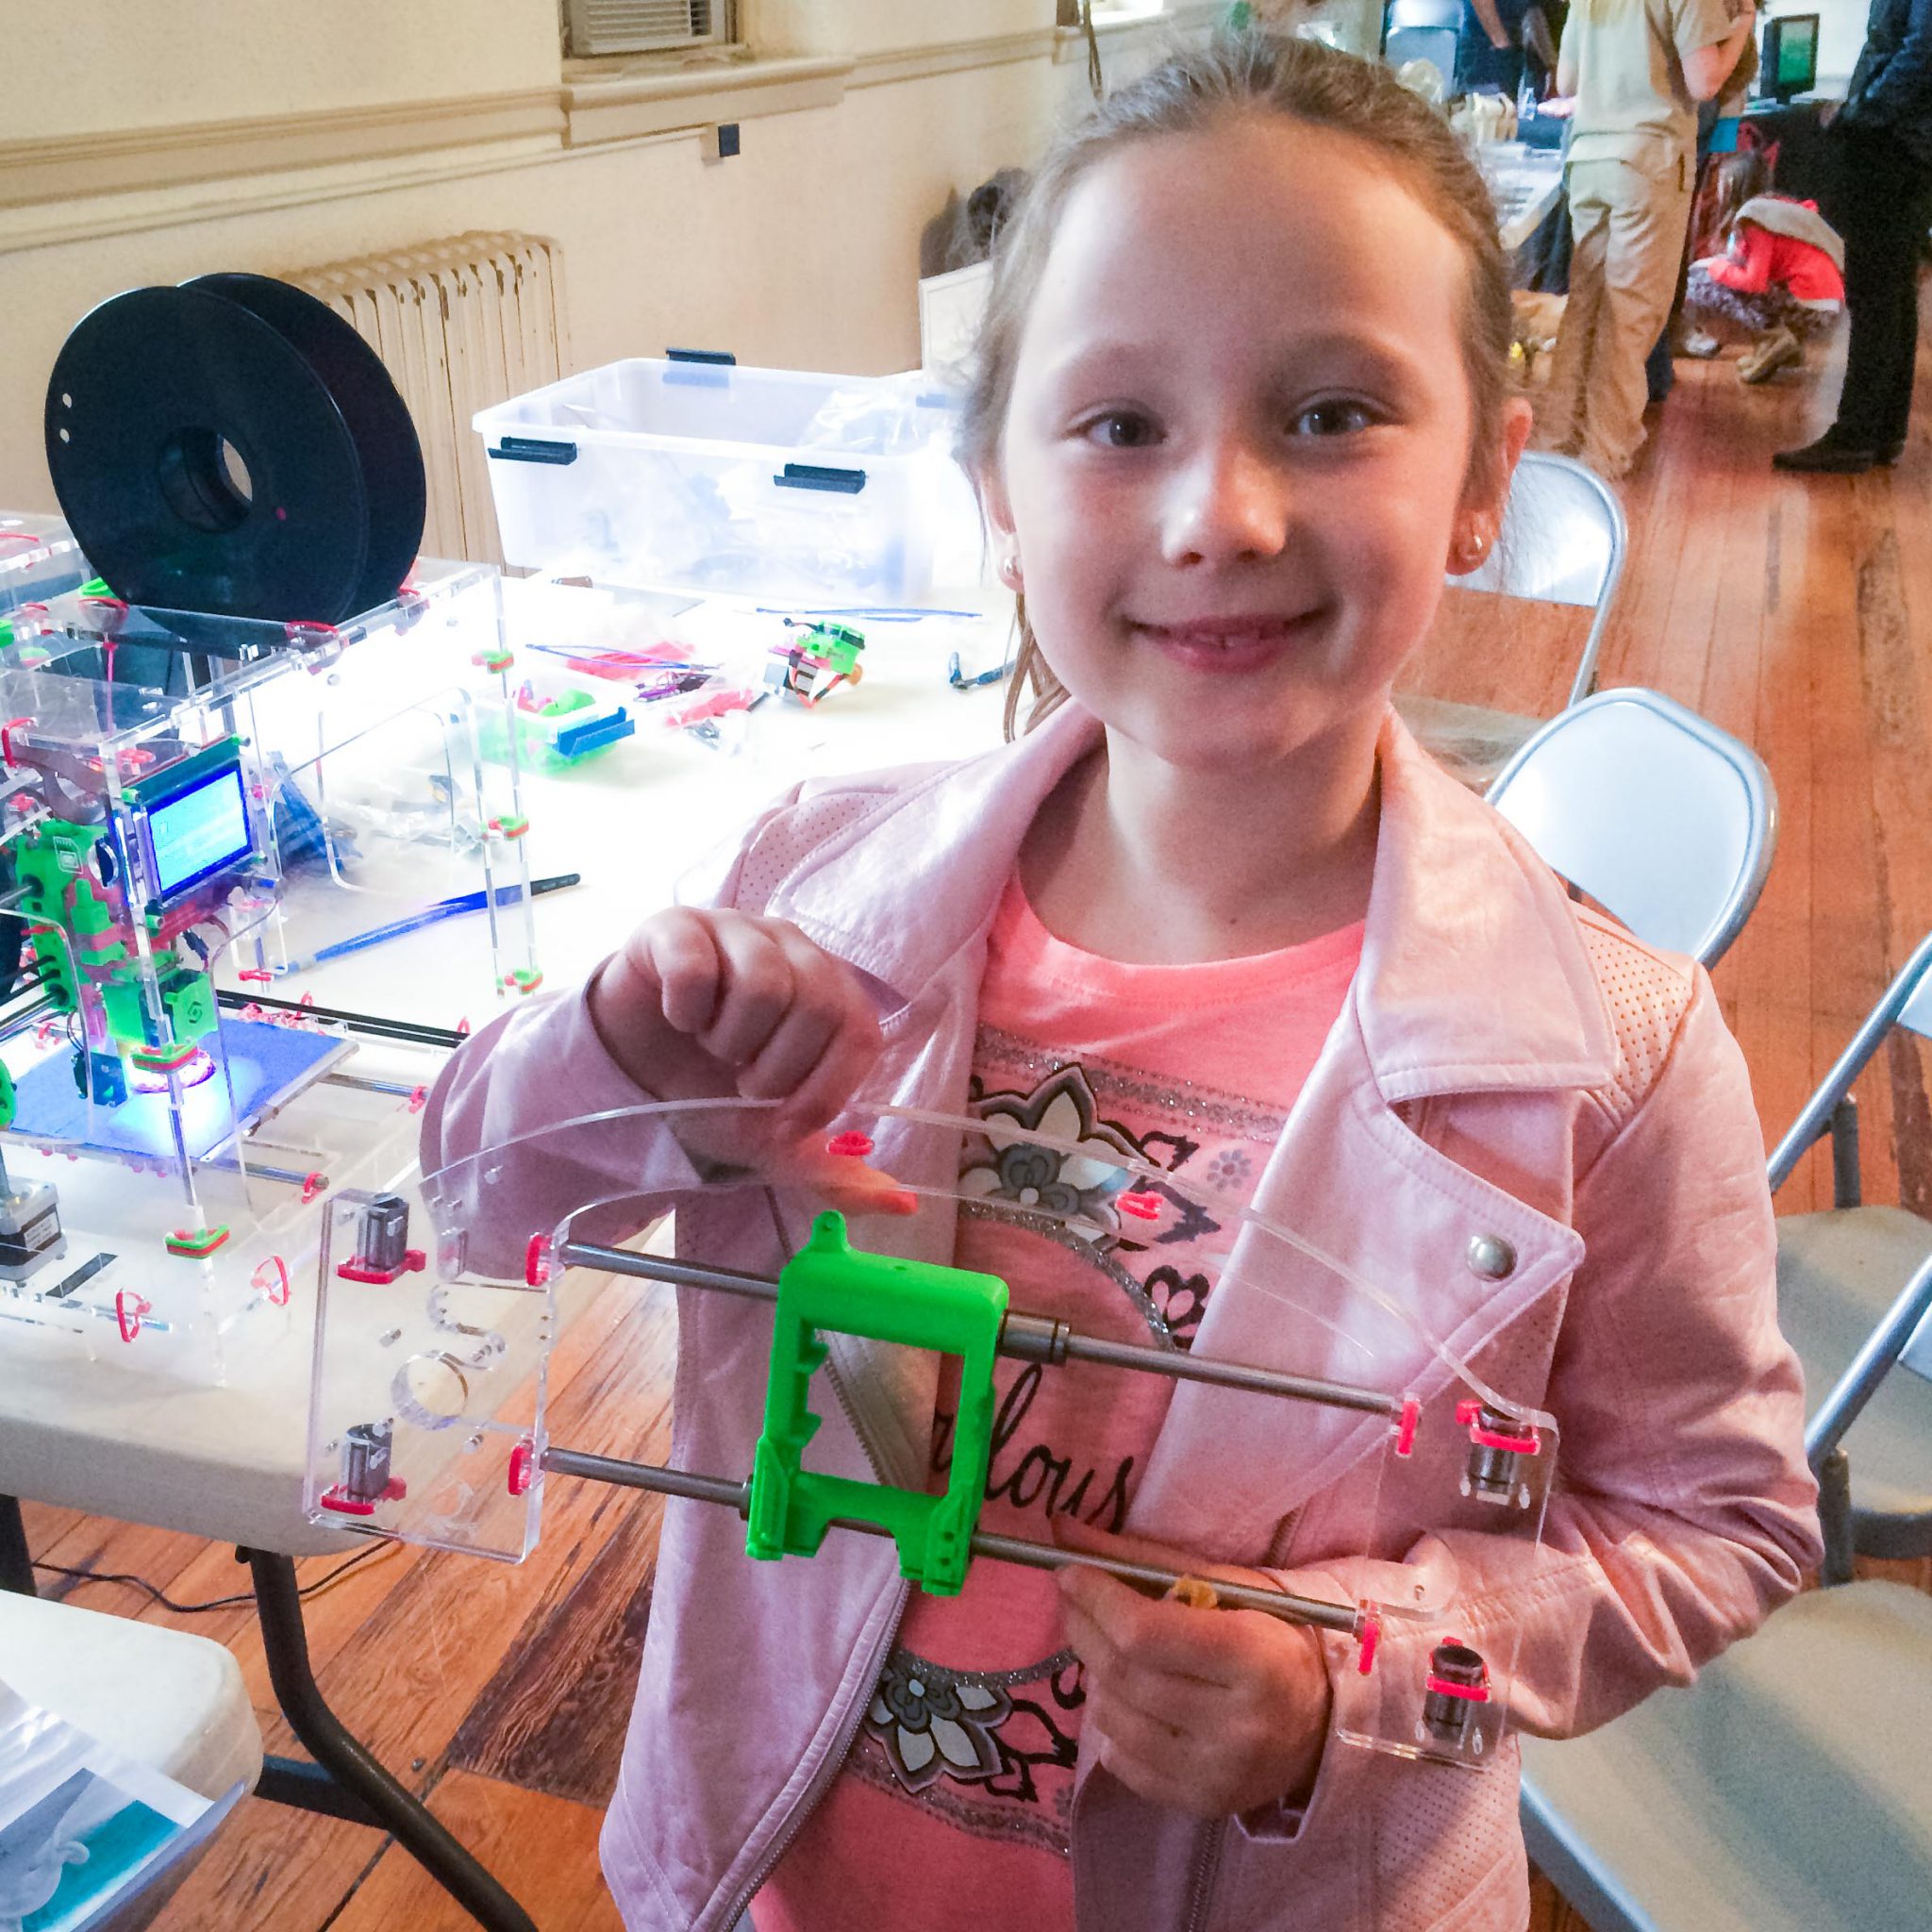
Almost 50% of our crash course participants came with a very young assistant. Youngest was just 7 years old, but most of them were 12 – 15. Youngest standalone maker was Elisabeth, she was just 13… The oldest maker was something between 60 and 70. Everyone has made his 3D printer printing, regardless on age!
Who are the instructors?
The crash courses are developed and taught by Filip and Ladi, the same team that designed the Jellybox.
Ladi is an experienced electrical engineer, lifelong tinkerer, software architect, entrepreneur, and a natural-born presenter. He could use a solder gun before he could even walk, and his lectures on database systems have become legendary. He excels in making people figuring out things by themselves. Ladi holds a degree in Electrical Engineering from the Czech Technical University in Prague.
Filip is a learning interaction and curriculum designer making digital and physical things both for living and in his spare time. He prides himself on being able to awaken people’s curiosity. He has collaborated on a myriad of projects including on-line and off-line university courses, design thinking workshops, Design and Education MOOCs, and even a mobile app for literacy acquisition. Filip holds a degree in Technology, Innovation and Education from Harvard.
How long does the crash courses take?
Usually 8am-8pm (yes, this is long day…).

One-Day Build Agenda
Prerequisites:
No 3D printing experience necessary. The course is designed for beginners (though you can be an expert and have a blast). No crimping, no soldering. You just need to be able to screw a screw. Plus, if you’re under 18, your parents will to agree to your participation.
Plan:
| START 8 am | Meet and greet, breakfast |
| Forenoon | How 3D Printing Works with special focus on FDM 3D printers |
| Hotend and extruder assembly | |
| Bench Testing | Test power supply, Arduino, RAMPS, LCD Controller |
| Test X, Y and Z (proximity sensor) end stops | |
| Test X, Y and Z motors | |
| Test the extruder and hotend | |
| LUNCH | At this point, electronics are fully functional and everyone deserves a longer break |
| Afternoon | Assemble acrylic frame, power supply, Arduino + RAMPS |
| Assemble Y axis (bed), Y motor, Y end stop, wiring, belt | |
| Assemble X axis, X motor, X end stop, wiring, belt | |
| Assemble Z axis | |
| Install LCD controller and front panel | |
| Install Extruder and mechanically adjust proximity sensor | |
| Printer commissioning – mechanical check, belt tension, spring tension… | |
| Printing | First Print + the art of first layer tweaking |
| How FDM Printers Work: in depth look at extruding | |
| Learn how to properly calibrate the extruder | |
| 3D model processing: what do slicers do, most important slicing variables | |
| Using Slic3r and IMADE3D profile to slice a model | |
| How GCODE works and what is it good for | |
| Learn to downloading and slice 3D model of your choice | |
| END 8 pm | Go home with your Jellybox and a feeling of accomplishment |
Note: snacks and drinks sprinkled throughout
We want you to know how everything works, how to fix it when things break,
and how to make it do what you want rather than to rely on someone else’s idea of a one size fits all product.
JellyBox One-Day Build : Overview
- We spend several hours building the Jellybox. (Mere several hours!) Along the way, we explore things like current, stepper motors, Arduino, best ways to tie a zip tie and more.
- We’ll do an short showcase of different 3D printing technologies with a deeper foray into current desktop-home printing space, maker revolution, and a brief history of open hardware and the RepRap community.
- After we build the Jellybox, we’ll get on with printing right away. We’ll need to calibrate the JB first and learn a bit about the infamous ‘importance of the first layer.’
- We’ll also slice something (slicing is the process in which we convert a 3D model into thin layers expressed in coordinate system – a language that 3D printers understand), but it’s only going to be enough to get you started.
- Intro to preventive and corrective maintenance. Bonus: unclogging a clogged nozzle.
- Somewhere there’s snacks and lunch, oh yeah.
One-Day Build: vs. DIY Jellybox Build
Unlimited spare parts
Save time and energy
Get smarter
Community
Ready to get started?
Classes are limited to 6 JellyBox printers.
$1350 for the 1-Day JellyBox Build, and you can bring an assistant to build the Jellybox with you and learn along for free.
Head over to the quick build registration right now!
Do It by Yourself?!
you can of course get Jellybox as a DIY KIT with an exquisite assembly guide.
It’s the same printer. Just not the workshop experience.